About Open Test Manager
Open Test Manager is a cross-platform tool for handling test cases. It uses a client-server design where an administrator runs a server which the users of the system access through a standard web browser.
Have you ever felt frustration with the available tools for test management being huge and complex (not to mention expensive), while a home grown solution using spreadsheets lacks stability and scalability?
Try out Open Test Manager. You will be surprised by its simplicity and flexibility.

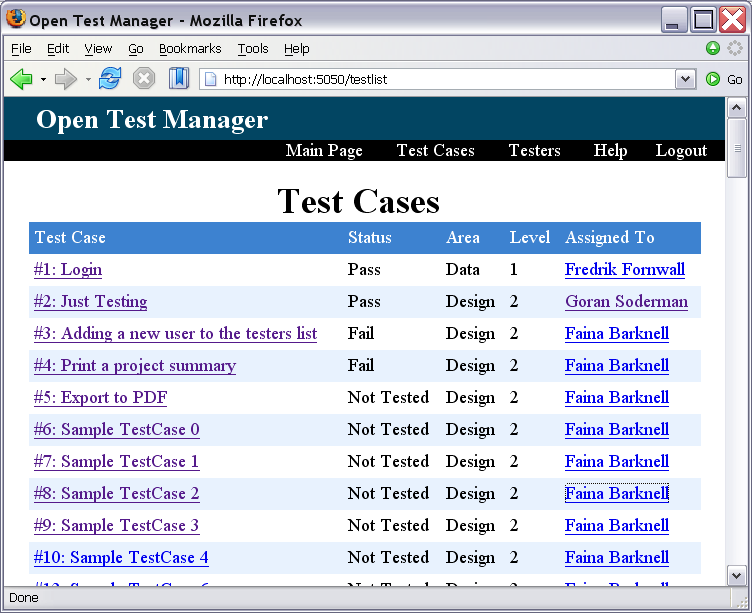
Screenshot of the Open Test Manager test case list
Manage your test cases
The key to Open Test Managers usefulness lies in its simple and intuitive web-based user interface in which the users work with the test cases. There are no cluttered menus to navigate through as you work with your test cases.
Open source - open standards
Open Test Manager is developed as open source software under the GPL licence. This means that you have the right to look through the source code as well as add your own modifications or customizations.
Furthermore, the data storage of Open Test Manager is a standards-compliant SQL database system, meaning that you can easily integrate it with your own system. There is no longer any concern for data or vendor lock-in.
Try Open Test Manager
Open Test Manager is currently in pre-release development, but you are more than welcome to try it out and give feedback. The Open Test Manager server is written in java and requires a java runtime environment to run.
Open Test Manager is launched through java web start by clicking on the launch link at the top of this page. You can find more information about running Open Test Manager in the Administrators guide.
At the moment, you can log in with a user name of admin and a password mellon when you run the test server.
Helping out
To develop Open Test Manager into a something usable, we need feedback and suggestions from those working in the field. So once you have tested it, go to our discussion forum and let us know what you think!
